以前后端分离的方式实现表单验证
现在可以公开的情报
之前做过登录页面的是使用Spring + ThymeLeaf实现的(可以搜“表单输入验证”找到那篇博客),这次用前后端分离的方式来试试。
这是我方才想出来的方法,我还没去了解过别人的表单验证怎么实现的。所以,由于自己是闭门造车,也不知道代码水平怎么样。
技术栈
- Spring Boot
- HTML + CSS + Bootstrap
- JavaScript + Vue + axios
过程
后端
业务逻辑
后端用Spring Boot实现,核心逻辑是在controller里处理对“/login”的get和post请求。
1
2
3
4
| @Controller
public class MyController {
...
}
|
对于get请求,返回login.html这个页面。
1
2
3
4
| @GetMapping("/login")
public String login() {
return "login";
}
|
对于post请求,检查传过来的username和password是否和数据库里的正确匹配,根据结果返回一个json。匹配成功则返回
否则返回
代码
1
2
3
4
5
6
7
8
9
10
11
12
13
14
15
16
17
18
19
20
21
22
23
24
25
26
27
28
29
30
31
32
33
34
35
36
37
38
39
40
41
42
43
44
45
46
47
48
49
50
51
52
53
54
55
| @Controller
@CrossOrigin("*")
public class MyController {
private static final Logger log = LoggerFactory.getLogger(MyController.class);
@GetMapping("/login")
public String login() {
    return "login";
}
@PostMapping("/login")
public void validate(HttpServletRequest request, HttpServletResponse response) throws IOException {
log.info("侦测到login页面的post请求,我必须回应");
log.info("正在从数据库中获取账号密码");
String username = "overwatch";
String password = "tracer";
log.info("将post内容json转化为java bean");
ValidateInfo info = getValidateInfo(request);
log.info("正在初始化回复内容");
String successfulMessage = "{\"status\": \"ok\"}";
String failedMessage = "{\"status\": \"no\"}";
log.info("正在回复");
response.setContentType("application/json; charset=utf-8");
PrintWriter printWriter = response.getWriter();
if (info.getUsername().equals(username) && info.getPassword().equals(password)) {
printWriter.write(successfulMessage);
} else {
printWriter.write(failedMessage);
}
printWriter.flush();
log.info("回复完毕");
}
public ValidateInfo getValidateInfo(HttpServletRequest request) throws IOException {
log.info("正在尝试获取ValidatePost的内容");
BufferedReader reader = new BufferedReader(new InputStreamReader(request.getInputStream(), StandardCharsets.UTF_8));
StringBuilder responseContent = new StringBuilder();
String line;
while ((line = reader.readLine()) != null) {
responseContent.append(line);
}
log.info("获取完毕,ValidatePost的内容:\n{}", responseContent.toString());
log.info("正在尝试将JSON转化为Java Bean");
String json = responseContent.toString();
ObjectMapper objectMapper = new ObjectMapper();
objectMapper.configure(DeserializationFeature.FAIL_ON_UNKNOWN_PROPERTIES, false);
return objectMapper.readValue(json, ValidateInfo.class);
}
}
|
1
2
3
4
5
6
7
8
9
10
11
12
13
14
15
16
17
18
19
20
21
22
23
24
25
26
27
28
29
30
| public class ValidateInfo {
private String username;
private String password;
public ValidateInfo() {
}
public ValidateInfo(String username, String password) {
this.username = username;
this.password = password;
}
public String getUsername() {
return username;
}
public void setUsername(String username) {
this.username = username;
}
public String getPassword() {
return password;
}
public void setPassword(String password) {
this.password = password;
}
}
|
注意到这里并没有一个真正的数据库,我们就假装有一个数据库吧。
注意使用@CrossOrigin("*")注解Controller,不然js的post请求发不出去(这儿我有点儿疑惑,按理说不设置也可以正常使用js,但是我用排除变量法发现不行)。
前端
勉强能看的登录页面
效果
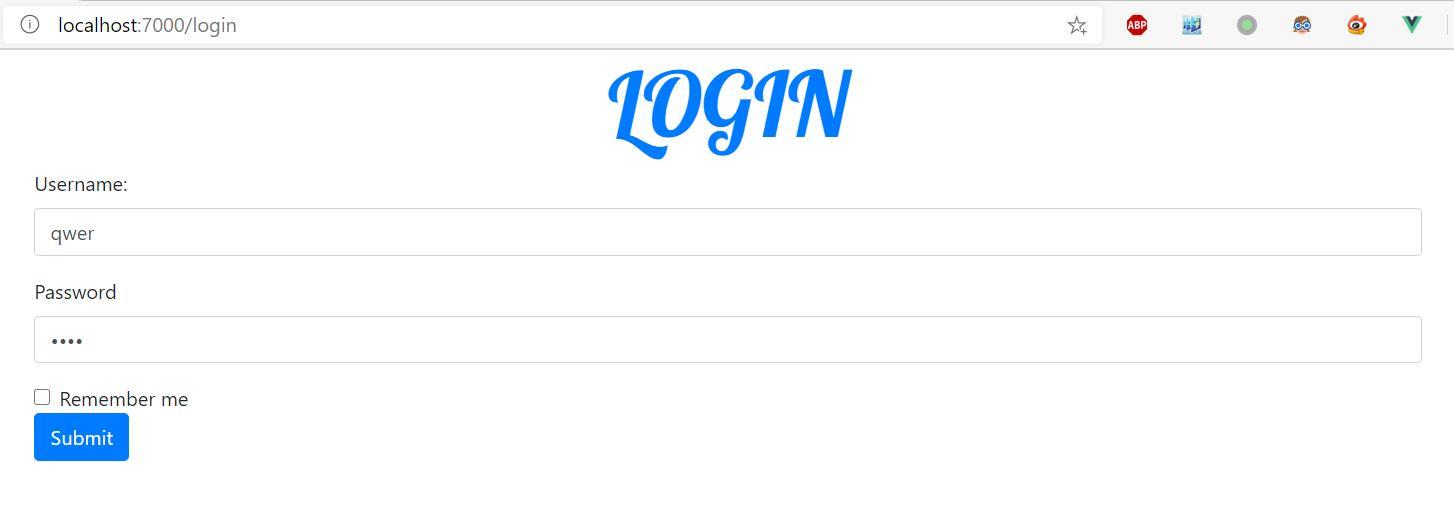
很简陋的页面,可以使用Bootstrap美化一下。
代码
1
2
3
4
5
6
7
8
9
10
11
12
13
14
15
16
17
18
19
20
21
22
23
24
25
26
27
28
29
30
31
32
33
34
35
36
37
38
39
40
41
42
43
44
| <!DOCTYPE html>
<html lang="en">
<head>
<meta charset="UTF-8">
<title>Log in</title>
<link rel="stylesheet" href="https://cdn.jsdelivr.net/npm/bootstrap@4.5.0/dist/css/bootstrap.min.css"
integrity="sha384-9aIt2nRpC12Uk9gS9baDl411NQApFmC26EwAOH8WgZl5MYYxFfc+NcPb1dKGj7Sk" crossorigin="anonymous">
<link rel="stylesheet" href="https://maxcdn.bootstrapcdn.com/font-awesome/4.5.0/css/font-awesome.min.css"
integrity="sha384-XdYbMnZ/QjLh6iI4ogqCTaIjrFk87ip+ekIjefZch0Y+PvJ8CDYtEs1ipDmPorQ+" crossorigin="anonymous">
<script src="https://cdn.jsdelivr.net/npm/vue/dist/vue.js"></script>
<script src="https://cdn.jsdelivr.net/npm/jquery@3.5.1/dist/jquery.slim.min.js"
integrity="sha384-DfXdz2htPH0lsSSs5nCTpuj/zy4C+OGpamoFVy38MVBnE+IbbVYUew+OrCXaRkfj"
crossorigin="anonymous"></script>
<script src="https://cdn.jsdelivr.net/npm/popper.js@1.16.0/dist/umd/popper.min.js"
integrity="sha384-Q6E9RHvbIyZFJoft+2mJbHaEWldlvI9IOYy5n3zV9zzTtmI3UksdQRVvoxMfooAo"
crossorigin="anonymous"></script>
<script src="https://cdn.jsdelivr.net/npm/bootstrap@4.5.0/dist/js/bootstrap.min.js"
integrity="sha384-OgVRvuATP1z7JjHLkuOU7Xw704+h835Lr+6QL9UvYjZE3Ipu6Tp75j7Bh/kR0JKI"
crossorigin="anonymous"></script>
<script src="https://cdn.jsdelivr.net/npm/lodash@latest/lodash.min.js"></script>
<script src="https://cdn.jsdelivr.net/npm/axios@latest/dist/axios.min.js"></script>
</head>
<body>
<div class="container">
<h1 class="display-3 text-primary text-center" style="font-family: Lobster, serif">LOGIN</h1>
<form method="post" v-on:submit.prevent="submit" id="form">
<div class="form-group">
<label for="username">Username:</label>
<input v-model="username" type="text" class="form-control" id="username" placeholder="User Name">
</div>
<div class="form-group">
<label for="password">Password</label>
<input v-model="password" type="password" class="form-control" id="password" placeholder="Password">
</div>
<div class="form-check">
<label class="form-check-label">
<input type="checkbox" class="form-check-input"> Remember me
</label>
</div>
<button type="submit" class="btn btn-primary">Submit</button>
</form>
</div>
</body>
</html>
|
代码中用到了vue,但这个和页面的样式没关系,等下再说。
业务逻辑
使用Vue绑定表单的输入
1
2
3
4
5
6
7
8
9
10
11
12
13
14
15
16
| <form method="post" v-on:submit.prevent="submit" id="form">
<div class="form-group">
<label for="username">Username:</label>
<input v-model="username" type="text" class="form-control" id="username" placeholder="User Name">
</div>
<div class="form-group">
<label for="password">Password</label>
<input v-model="password" type="password" class="form-control" id="password" placeholder="Password">
</div>
<div class="form-check">
<label class="form-check-label">
<input type="checkbox" class="form-check-input"> Remember me
</label>
</div>
<button type="submit" class="btn btn-primary">Submit</button>
</form>
|
注意到v-model这种vue特有的代码,他可以绑定一个vue实例的数据。
1
2
3
4
5
6
7
8
9
| <script>
const vm = new Vue({
el: '#form',
data: {
username: '',
password: ''
}
});
</script>
|
我们用prevent拦截表单的submit请求,并调用我们设置好的函数:
1
2
3
4
5
6
7
8
9
10
11
12
13
14
15
16
17
18
19
20
21
22
23
24
25
26
27
28
29
| <script>
const vm = new Vue({
el: '#form',
data: {
username: '',
password: ''
},
methods: {
submit: function () {
console.log("准备用ajax向服务器发送post请求");
axios.post('http://localhost:7000/login', {
username: this.username,
password: this.password
}).then(function (res) {
const text = res.request.response;
console.log(text);
const json = JSON.parse(text);
if (json.status === 'ok') {
alert('登陆成功');
} else {
alert('账号或密码错误,请重新输入');
}
}).catch(function (error) {
alert(error);
});
}
}
});
</script>
|
用axios向服务器发送post请求,请求内容是一个携带username和passwrod的JSON,然后得到响应结果,根据结果的内容进行下一步处理。
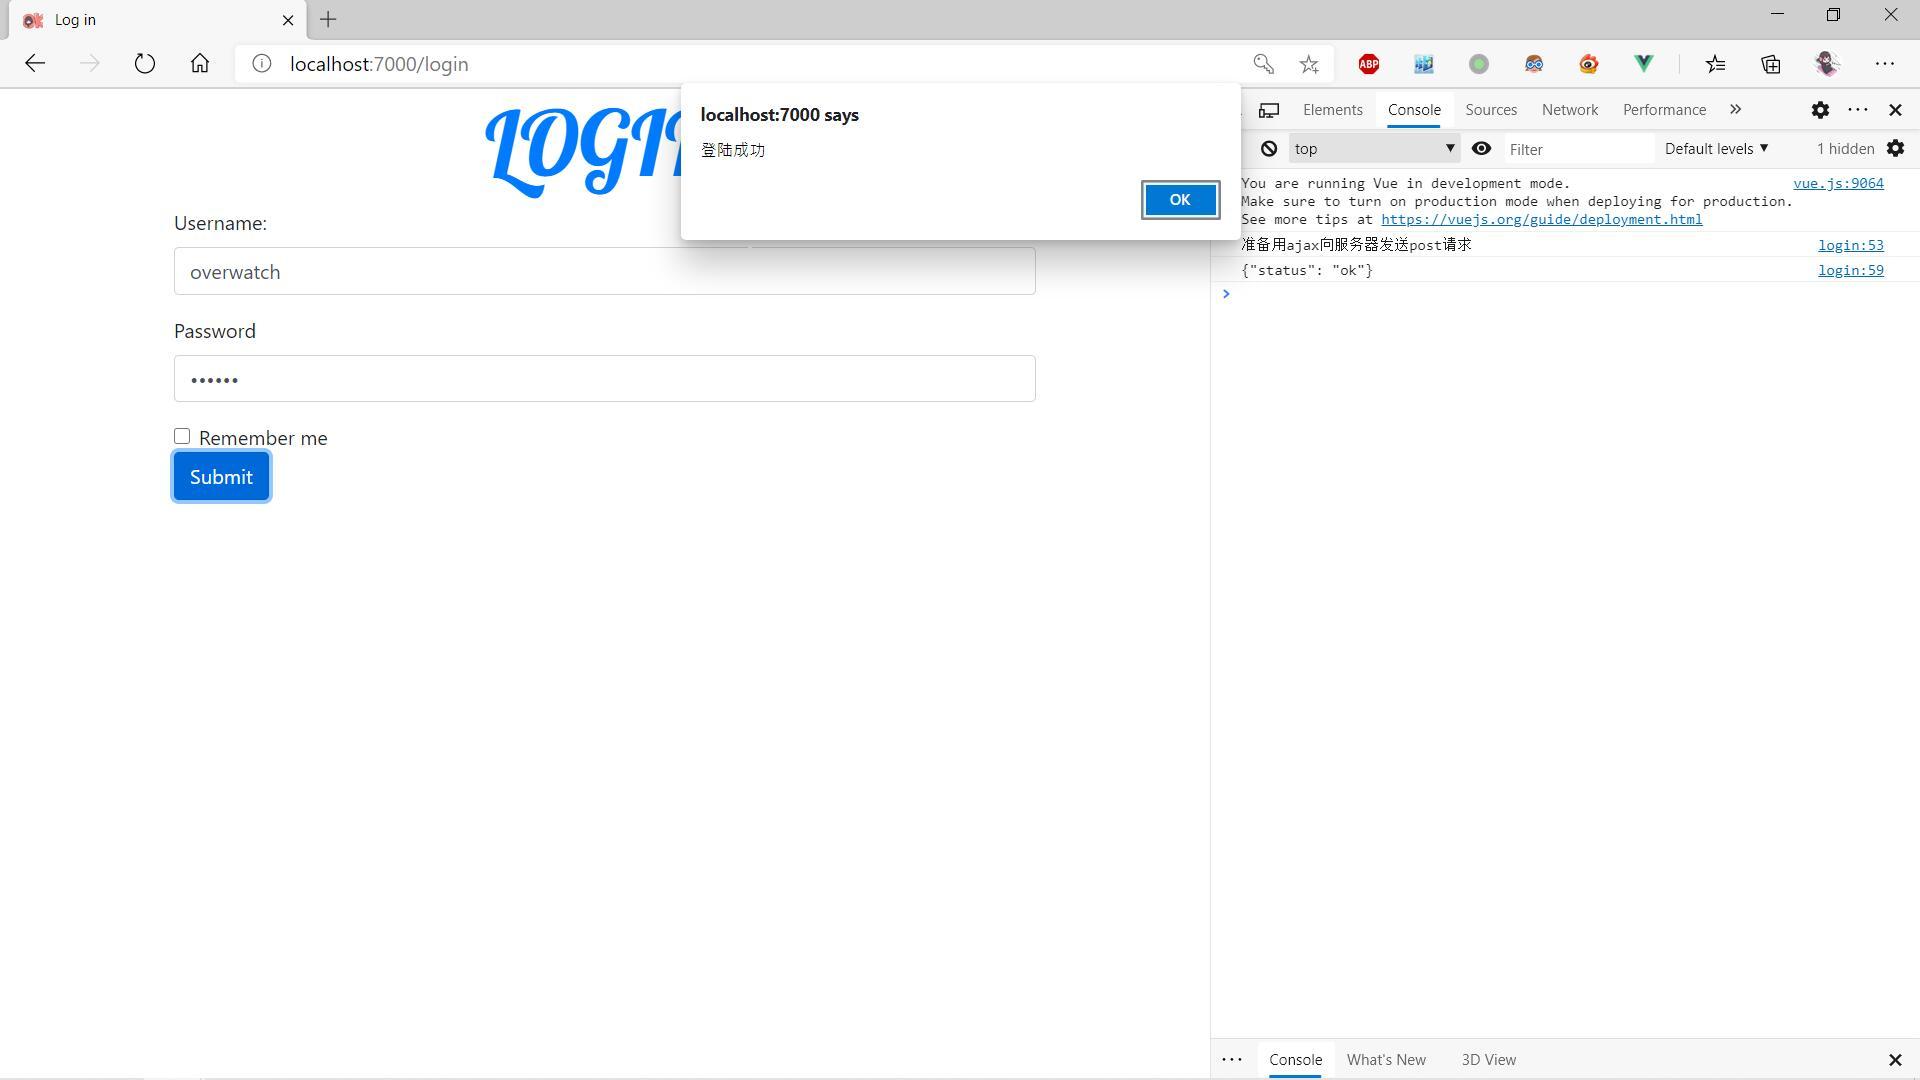
最终效果
登陆成功
登录失败
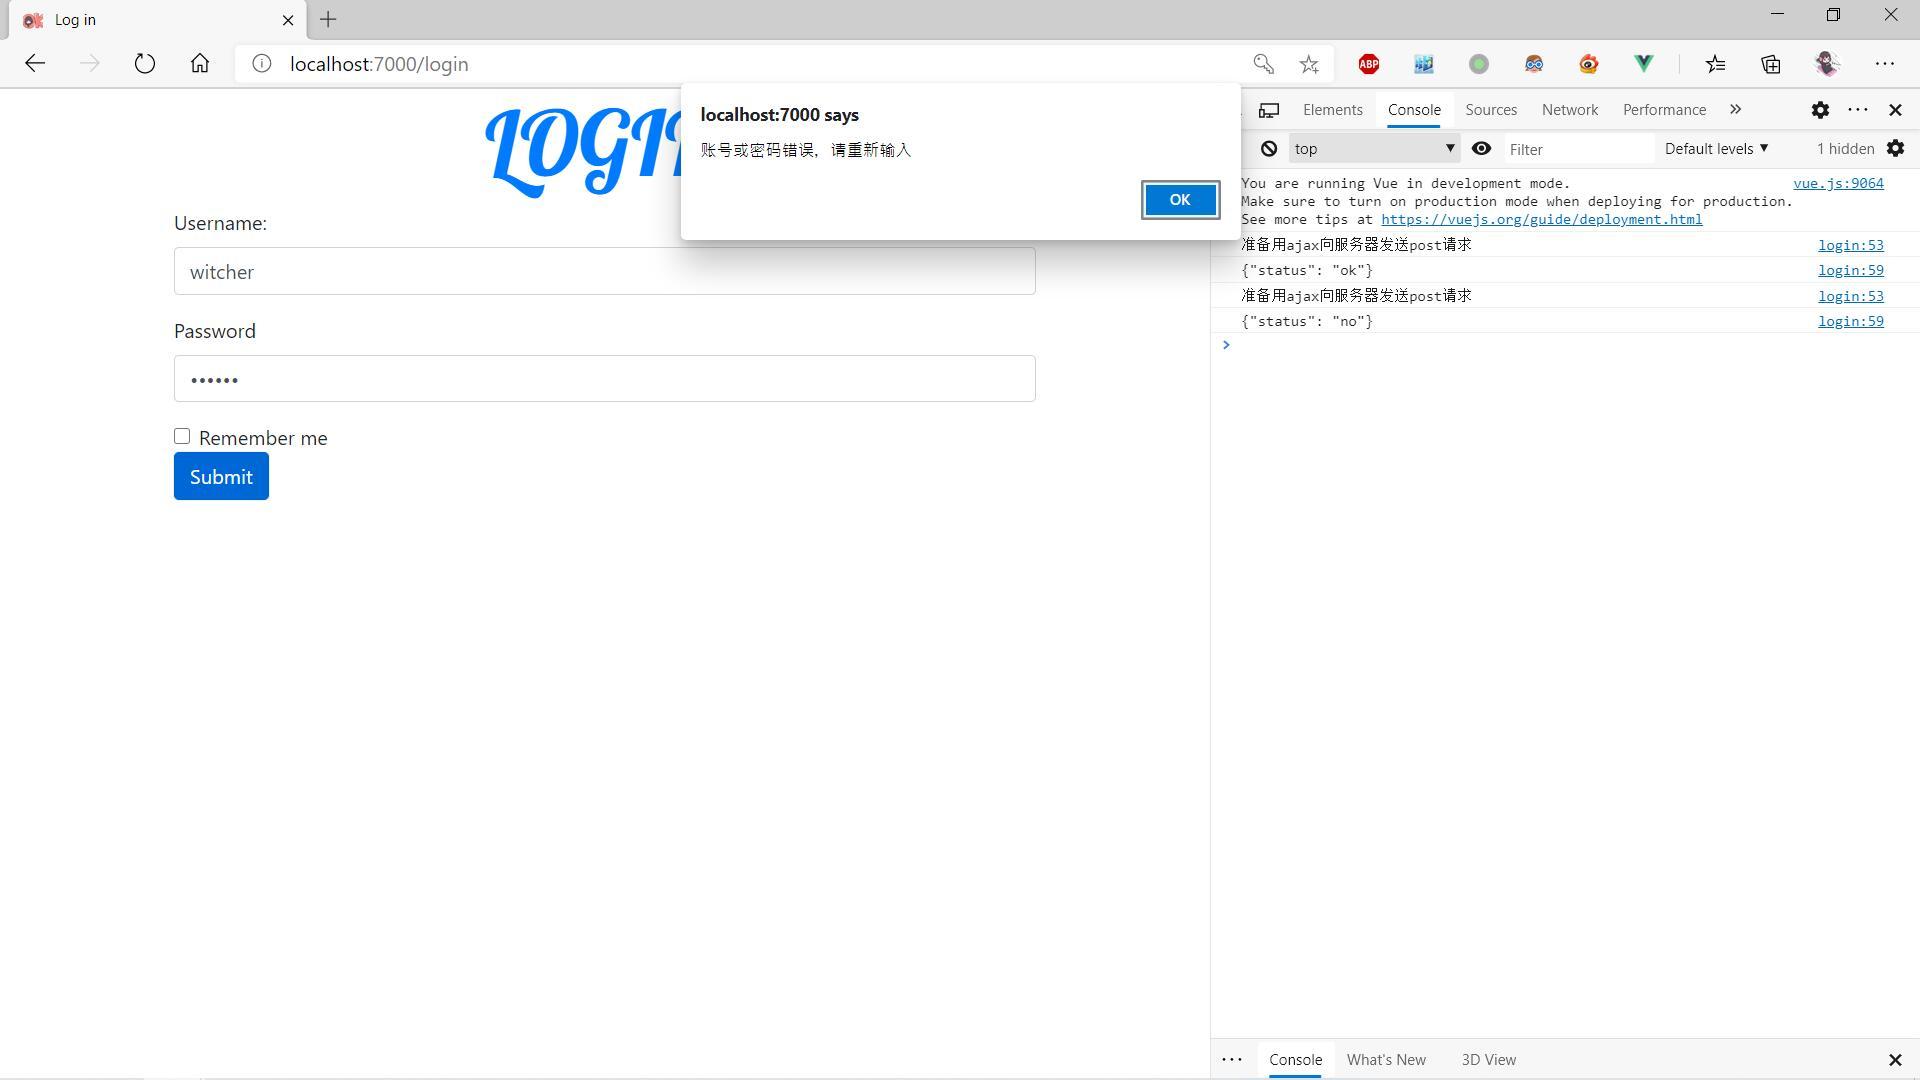
登录成功之后该做些什么完全由前端去控制决定了,整个过程中,服务器和浏览器之间传递的是json数据,而不是html页面(第一次除外)。
经验表明,如果是很简单的页面,用模板引擎来的更方便一些。